Tip #4 for Keeping on Track with Your Writing

In this final of 4 blog posts with tips for keeping on track with your writing, I want to tell you about the many free database programs available to keep all your book files in a central location.

Many businesses use these database and project management programs for team collaboration and monitoring the numerous projects they have going. Well, we freelancers can use many of these programs as well, even if we don’t employ other people. Some of us go solo during the writing process, but others of us have teams that consist of critique partners, agents, and fellow writers who assist with the process.

I was introduced to Basecamp by a client of mine, a very large company that does business in all 50 states. It has many employees and, as you can imagine, multiple departments that handle different kinds of projects. I began using the free edition of Basecamp and then upgraded so I could use it to work on more than one book at a time.

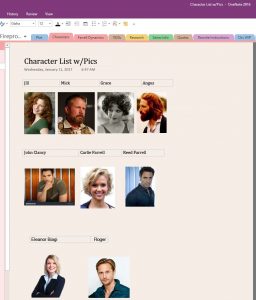
In fact, when I co-wrote a mystery novel with another write last year, we used Basecamp to keep all our stuff organized. Herb had separate folders where he  uploaded his chapters and research, as I did, but we each had access to the folders. (If you didn’t want to give access to someone, you can do that, too.) We also created a folder where we could upload photos. He lives on the west coast and I live in New England, and each of our lead characters did, too. So uploading  photos was essential for helping our writing partner see what our characters’ part of the world looks like. We also used the program to message each other in real time and had the ability to email files to the central repository, as well.

I currently use Freedcamp, for personal reasons that have nothing to do with any dissatisfaction with any other program and everything to do with meeting my personal preferences for management more closely. Each writer is different, so you may like another database program better.

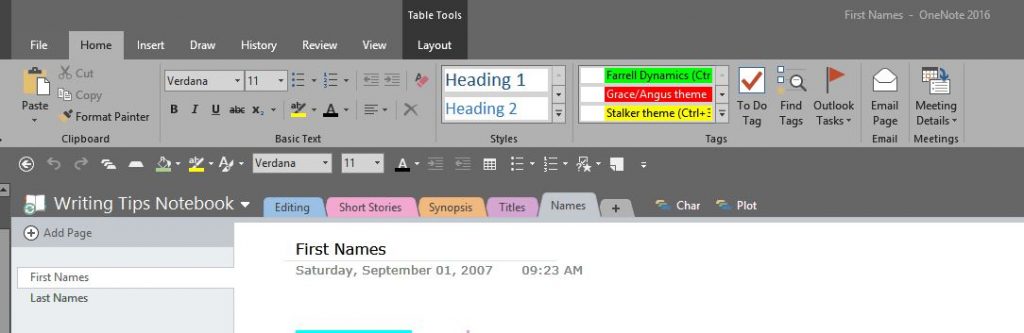
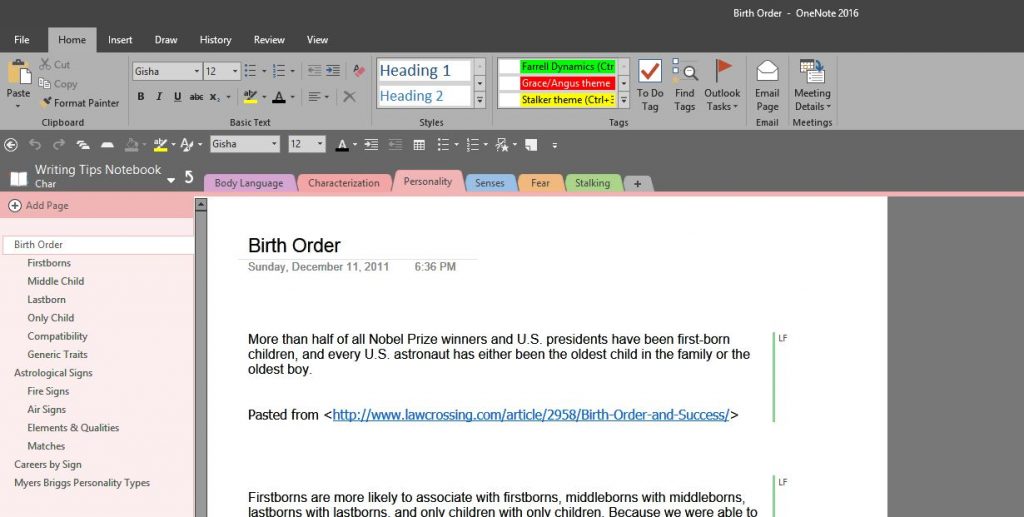
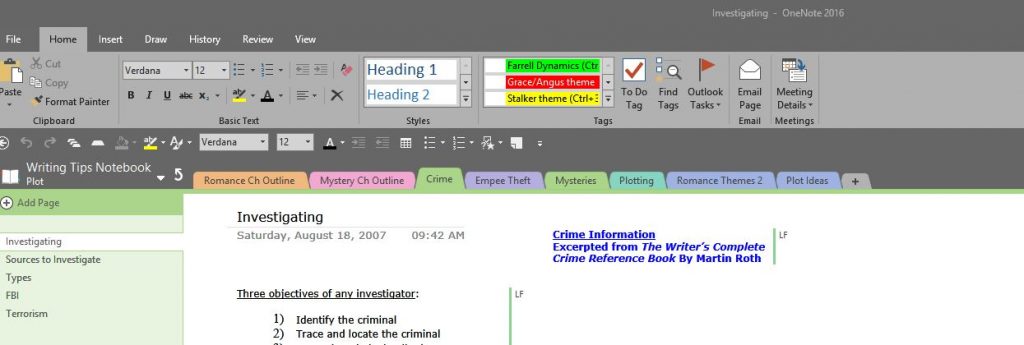
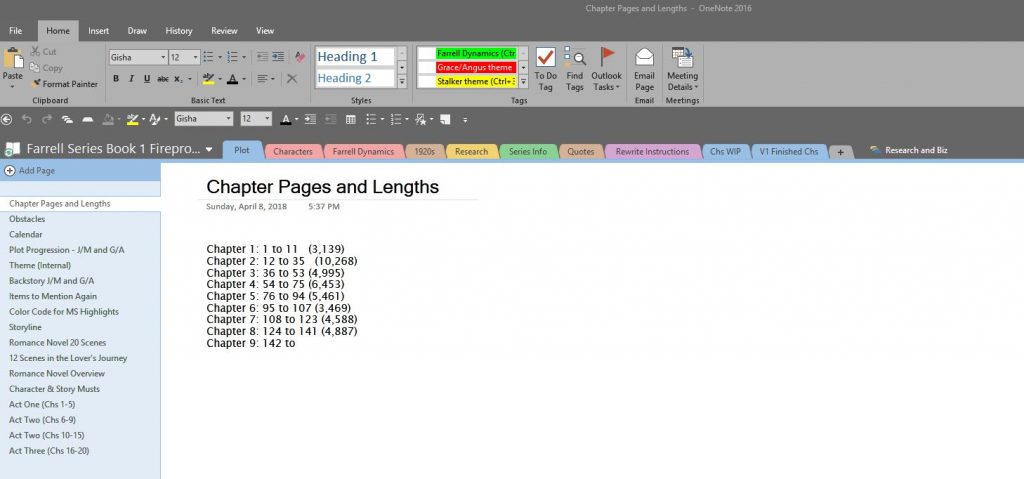
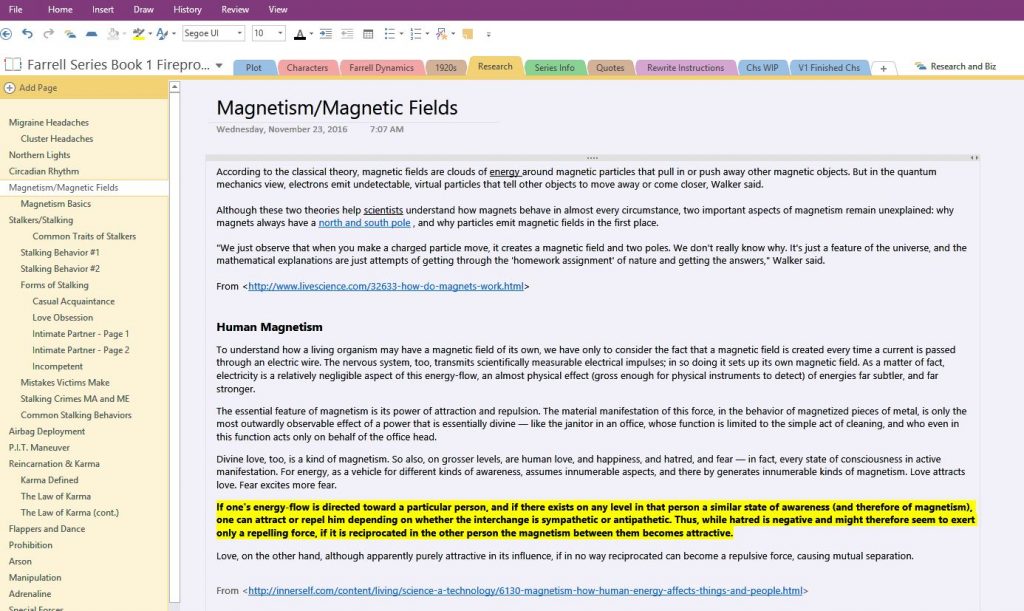
The best thing about using these programs is that you can keep your actual book manuscript, notes, research files, photos–basically everything to do with your book–in a single location that can be accessed from anywhere–by as many people as you grant access to. You can have several projects running at once, too. Right now, I have three books going at the same time. One completed book is sitting on the desk of both an agent and a publisher so my project is idle, I’m about 60% of the way through the first draft of another, and I’m in the outlining phase of a third.  I’m using the program differently for each of the three book projects, but I still go to the same place when it’s time to work.

The program includes a separate calendar for each project. As I write my WIP, I enter the chapter and scene number in it to keep track of where my characters are–and on what dates and times the scenes take place. The program also includes a task function that works separately for each project and it reminds me as I approach deadlines. I’ll be reminded when it’s time to check with the agent and publisher (assuming they haven’t called me with good news before then!), so I can put that on a back burner in my mind. (Or try to, anyway.)

The free version of Freedcamp I’m using allows me to have an unlimited number of projects and I chose it for that reason, plus its ease of use. If you’re a techie, you might find another product management database more to your liking. Here’s a link to just one of the online articles that provides you with a list of free programs. If you do a search, you can find plenty of other articles that compare them.

I hope this information proves helpful!


Tip #3 for Keeping on Track with Your Writing

In this third of four posts about how to stay on track with your writing, I’ll be discussing Tip #3: Using Multiple Notebooks in Microsoft’s OneNote.

I use OneNote to keep at my fingertips all those things I used to find myself flipping through pages of manuscript to find because I knew they were in there but just couldn’t find them. The best thing about OneNote is that it not only works like a regular notebook, with separate sections and pages, it also permits me to color code everything and insert photos and hyperlinks right from the Internet. I can organize as loosely or as precisely as I want to.

For example, in my Writing Tips notebook I use 5 major sections, and two Section Groups titled Characterization and Plot. Figure 1 shows what the hierarchy looks like when the notebook opens.

Figure 1

As you can see in Figure 2, the Characterization Section Group contains notebook sections, and each section of a notebook has color-coded tabs lined horizontally, with individuals page listed on the left.

Figure 2

It’s pretty straightforward. In Figure 3, the Plot Section Group contains its own horizontal color-coded sections, with pages listed on the left.

Figure 3

When you use the power of OneNote in conjunction with writing your novel, it expands your ability to stay organized. Figure 4 shows what the hierarchy of the notebook for my current WIP looks like. As you can see, I created a Section Group for all my research and the business documents associated with the book. It keeps them out of view so that when I’m working, my book section isn’t so cluttered.

Figure 4

I find OneNote especially helpful with the plot elements of my book. I have separate pages in this section to record chapter pages and lengths, a calendar into which I insert the Chapter and scene as I write it so I don’t have to constantly page back to document what to find what day something happened on, backstory items, reminders about things I HAVE to include in the future, theme reminders, a list of upcoming obstacles I need to incorporate, my chapter-by-chapter outline, etc.

One of the really neat thing about OneNote is the way you’re able to use it to keep Internet resource links and photos. Figure 5 shows how you can copy and paste info from the Internet, and the URL where you got the info gets pasted right along with the content to make it very easy to go right back to that source.

Figure 5

As you can see in Figure 6, I copied and pasted photos of people on the Internet to use as models for my characters.

Figure 6

I  use Tags in the notebook to remind myself when I need to edit or rewrite something; Figure 7 shows the list of all Tags used in the notebook. Once I create the master list, I can chose from it to enter the appropriate tag over the text in my notebook (Figure 8) and I apply the corresponding highlight color right into my manuscript to mark the section and then move on. If I forget what yellow highlighting means when I’m re-reading the manuscript (especially since I’m also using green and pink highlighting), all I have to do is refer to the color/tag code in OneNote.

Figure 7
Figure 8

I could go on and on, but I’ll spare you. If you think you’ll find using OneNote useful, here are a few different online tools that will help you learn about more about it:

PCWorld article for beginners: https://www.pcworld.com/article/2686026/software-productivity/microsoft-onenote-for-beginners-everything-you-need-to-know.html

Lifwire article for beginners: https://www.lifewire.com/tips-tricks-for-microsoft-onenote-beginners-2511970

Microsoft OneNote tutorial: https://support.office.com/en-us/article/OneNote-video-training-1c983b65-42f6-42c1-ab61-235aae5d0115

I hope these tips you stay on track. I look forward to seeing you in a few days for the final post in this series, Tip #4: Feedcamp (or any product management database).

Tip #2 for Keeping on Track with Your Writing

In my last blog post, I talked about Tip # 1, Customer styles and themes in Microsoft Word. In this post, I’m sharing Tip #2: A Custom Chapter-by-Chapter template for outlining both what I plan to write in future chapters/scenes … and what I’ve actually written.

I don’t know how it goes with you, but my plans always sound terrific. And some of them actually turn out that way. But quite often, I change plans in the middle of a story because I stumble over a flaw in my plot, I note an inconsistency in the character’s personality, or I dream up a much better idea. None of these things are a big deal if the change occurs in the present or future, but it’s a big PIA if I need to backtrack.

I use a Microsoft Word document that includes a separate table for each chapter. The table is divided into two columns that contain the following information:

Left Column

The date and day of the week. I also keep a separate calendar document into which I insert each chapter and scene number to make the process of backtracking easier if and when I have to do it.

Bullet points for each of the goals I want to accomplish in the chapter (e.g., reveal more of the POV character’s background through subplot, show what drives her, show her personal stake in the outcome of her relationship with Character B, introduce new obstacle).

Right Column

Separate rows for each scene that contain my plans for the content each scene: if I don’t have plans yet, I keep the row blank.

I use shading to indicate what POV character the scene will be told from (i.e., green for the POV character, blue for Character B, and no shading if I’m not sure).

The image appearing below is an example of what the table looks like.

I save the document and then turn on Track Changes. This allows me to enter revisions to the outline right in the document, and to add details of scenes I write that I hadn’t planned beforehand, and see both the original plan and the finished product all in one document. Track Changes allows you to see a simplified version of the revised document (with marks only appearing in the margins) or all changes made.

The image appearing below is what the table looks like after being revised in Track Changes:

Here are two links to online instructions about using Track Changes:

Microsoft online instructions for Track Changes in Word: https://bit.ly/2tiWrtk

Online article in PCWorld: https://bit.ly/2yG3e6v

I hope this helps you stay on track. Let me know if Tips #1 and/or #2 work for you.

I look forward to seeing you in a few days for Tip #3: Creating Multiple Notebooks in OneNote.

First of 4 Tips for Keeping on Track with Your Writing

I’m not a pantser. I don’t have to plot out every single scene before I write, either, but I like to have a framework within which to operate. After years of writing millions of pages of insurance textbooks, countless newspaper and magazine articles, and hundreds of book chapters I’ve settled on a process that keeps me organized. It also allows me more time to write without having to backtrack.

Here are the ingredients to my recipe for keeping on track:

Tip #1: Custom Styles and Themes in Microsoft Word

Tip #2: Custom Chapter-by-Chapter template for outlining both what I plan to write in future chapters/scenes … and what I’ve actually written

Tip #3: Creating multiple notebooks in Microsoft OneNote to keep at my fingerprints everything I need for my current work in progress

Tip #4: Freedcamp (or any other data management software)

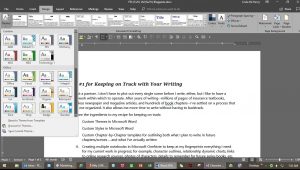
In this post, I’ll discuss ingredient #1 by sharing how I use custom themes and styles to make the writing process easier and more consistent from document to document. In the next three blog posts, I’ll tackle ingredients #2 through #4.

Tip #1: Custom Styles and Themes in Word

Every publisher likes to receive documents in its own preferred format. When you find yourself formatting every single document you create, it’s time to come up with a method to quickly create a document that contains the majority of the formatting elements you’ll need … and for it to be available consistently in the future.

Because the bulk of what I write is either textbook content for my biggest client, or novel manuscripts, I need two different style sets and themes on a daily basis. For example, although most book manuscripts have 1-inch margins around, use double-spaced lines, and Times Roman 12-point font, the client for whom I write insurance content prefers ½-inch margins, line spacing at 1.03, and 10-point font that is not Times. In addition, each publisher has preferred methods of auto-formatting certain punctuation marks.

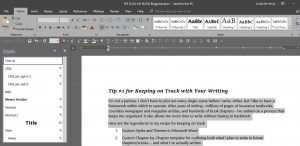
I’ve created different styles and themes for each of the two types of documents I use regularly so they’re preset to meet requirements the moment I open them.

A style collects multiple formatting controls and applies them at once to a selected area of text. For example, you might want your content to be in Times New Roman, double-spaced, and with the first sentence of each paragraph indented ½ an inch. But you want your heading to be in a larger, different font, with extra lines of white space before and after it.

Styles allows you to create the formatting for each section of the page (i.e., content and heading) and to apply them instantly whenever needed, eliminating your need to manually change formatting back and forth. Here are three online resources to help you create styles in your own documents:

Microsoft online instructions for Word 2007, 2010, 2013, 2016, Office 2016 (and Outlook 2013 and 2016): https://bit.ly/2lzbxrn

Microsoft online video instructions: https://bit.ly/2tBJNpI

Easy-to-understand guide on Laywerist.com: https://bit.ly/2InmfKw

Once you’ve created the styles you want to use in a particular type of document (i.e., textbook versus novel manuscript), you can create custom themes to include your styles, margins, colors, fonts, etc. Here are two online resources to help you create themes for your own documents:

Microsoft online instructions for Word/Excel versions 2016, 2013, 2010, 2017: https://bit.ly/2ty7JKw

Microsoft online instructions for Word 2016 and Office 365: https://bit.ly/2MYjXVt

Once you’ve created and saved your document theme, you can either open the template you created or you can create any new Word document and click the dropdown box on the Themes section of the Design tab under Document Formatting.

Using styles and themes helps you achieve uniformity when producing documents, making each document appear the same. This will not only make your editor/publisher very happy, it will also save you a lot of time.

I hope to see in a few days for Tip #2. Feel free to let me know if/how this tip works for you!